
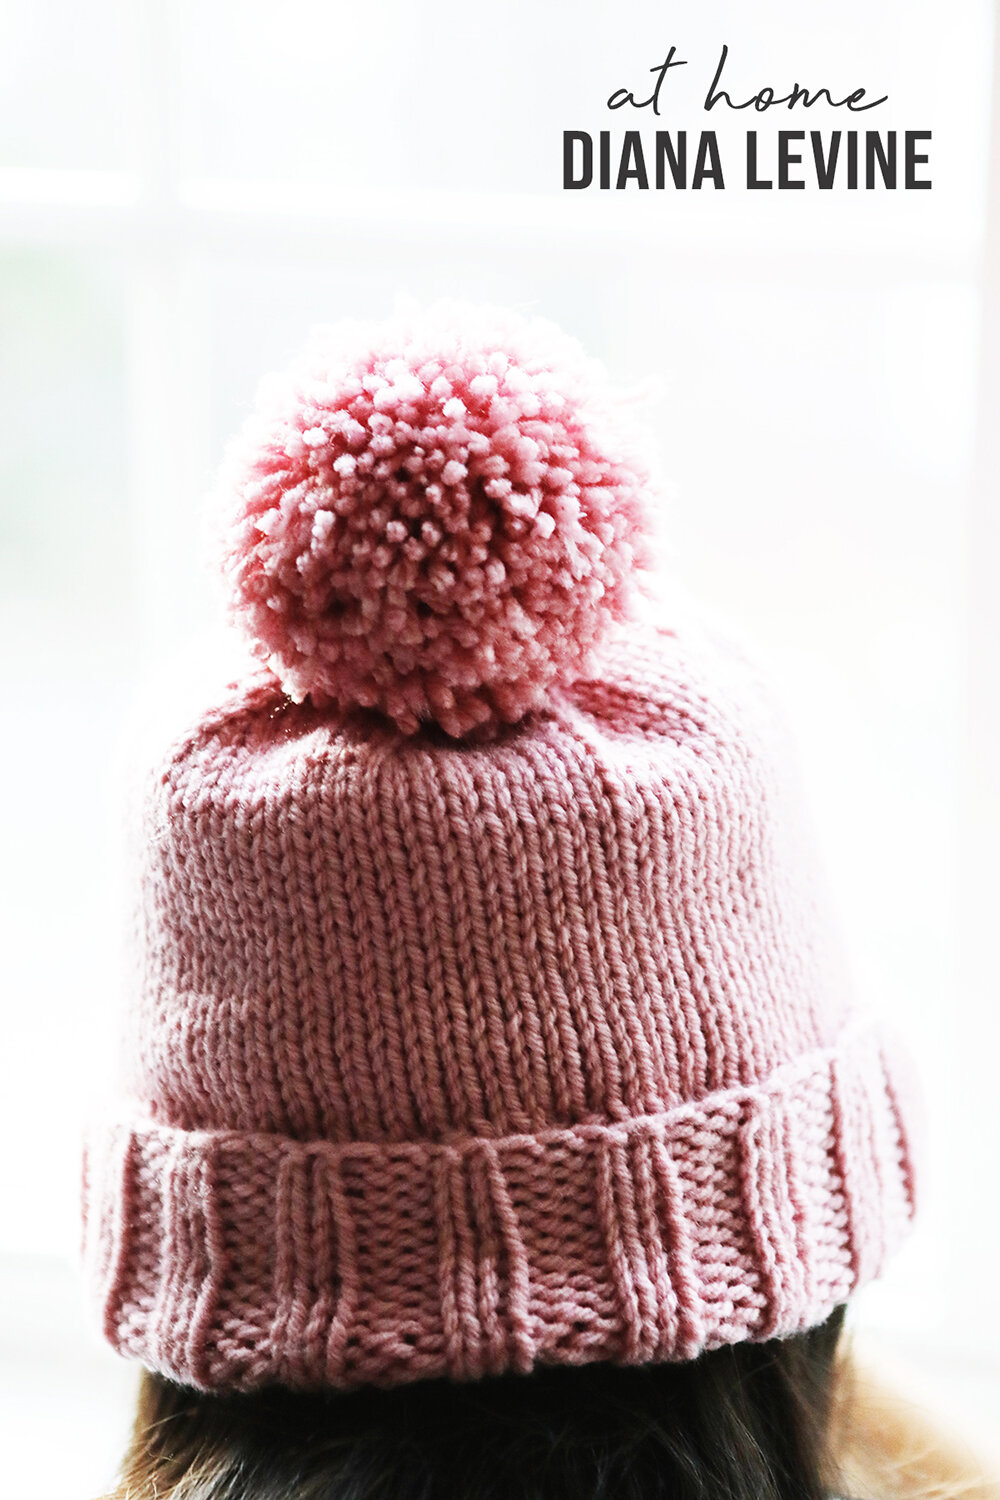
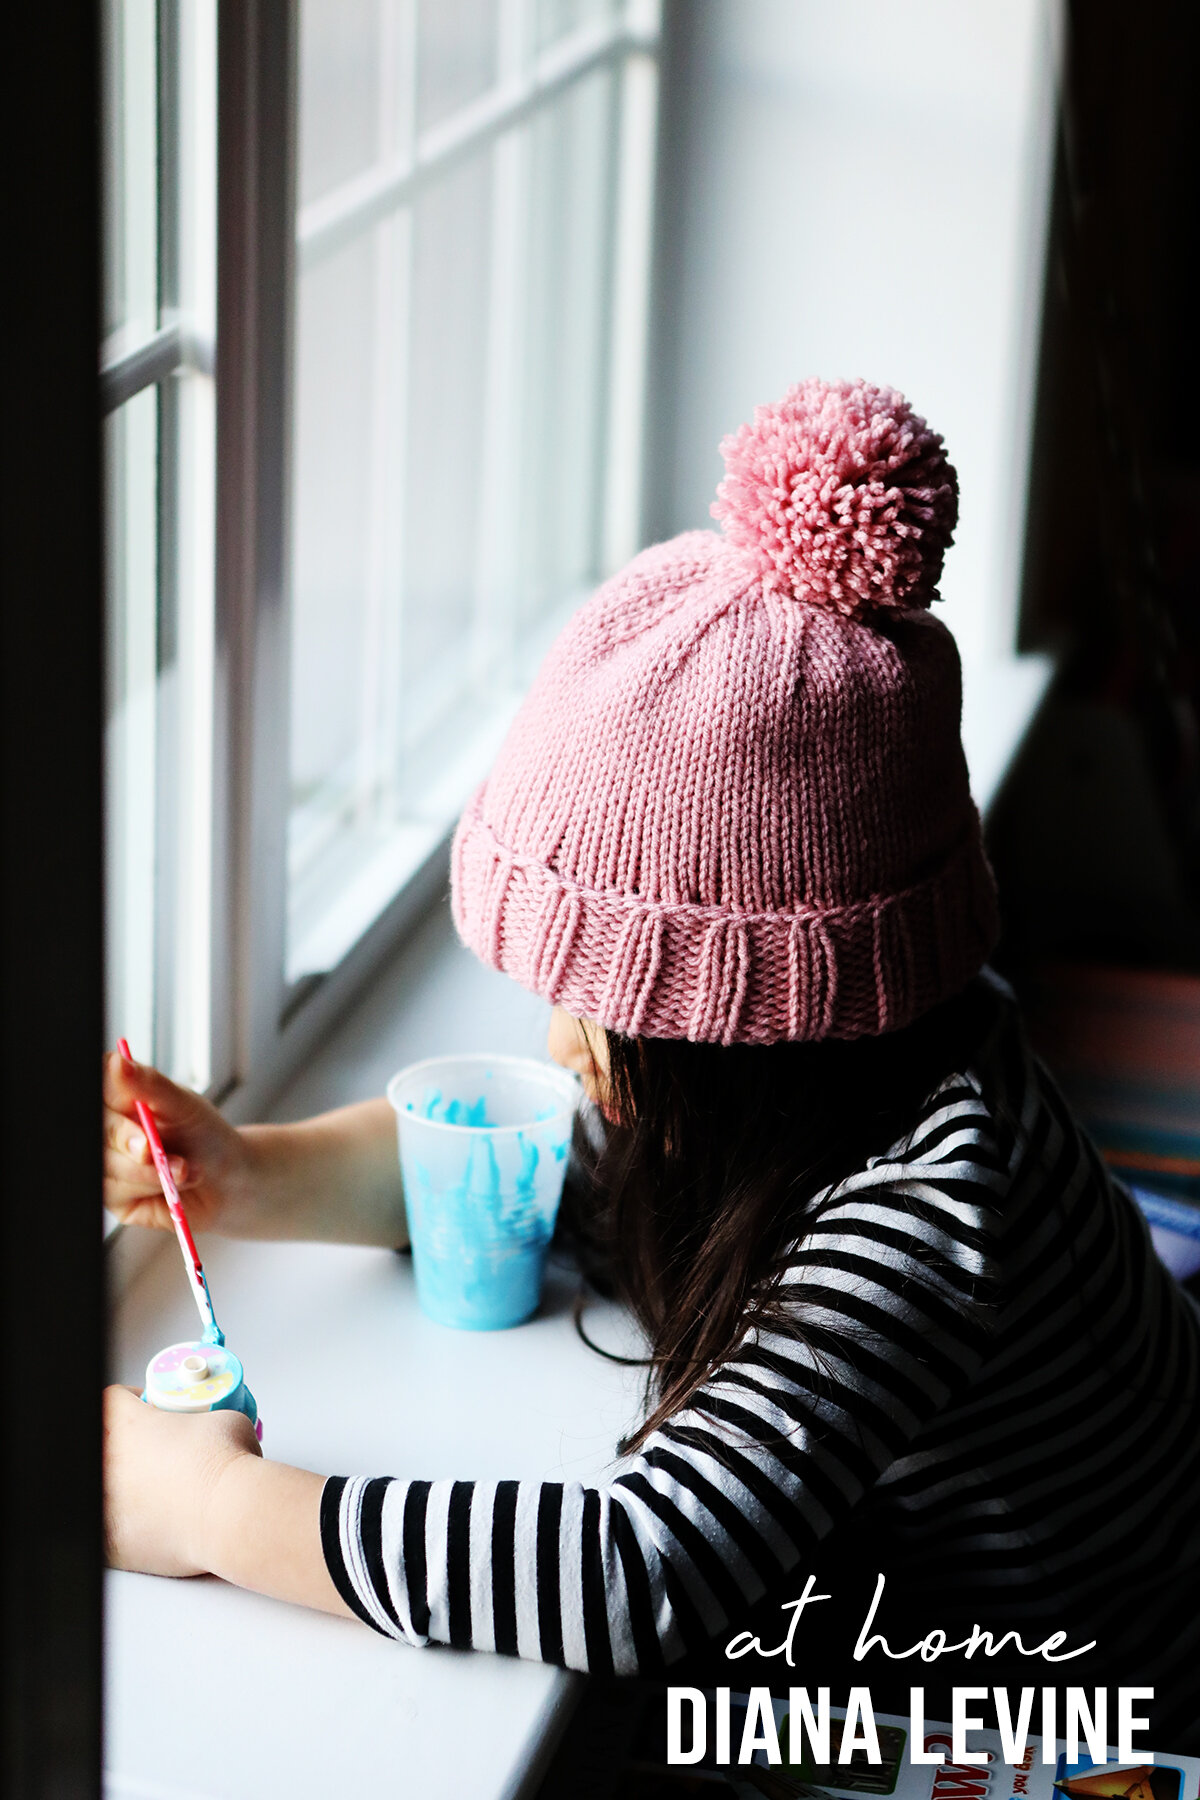
I knit this hat for my 5 year old daughter, and I love how simple, quick and easy it was to knit! This is a free knitting pattern. It’s very warm and cozy, and easy to make it your own personality using different colors. My daughter loves it so much that she even wears it at home!
Disclosure: This post contains Amazon affiliate links. If you use these links to buy something, I may earn a commission. This helps me fund future projects and patterns to share with the world—thank you!
Supplies:
Casting On:
Using the long-tail cast-on method, cast on 72 stitches + 1 extra for completing the round.
If you’d like a smaller hat or larger hat, subtract or add stitches in multiples of 8 and knit the project slightly shorter or longer.
The Brim:
Add a place marker, and join in the round using the extra stitch. You will now have 72 stitches in total. Make sure not to twist your work when joining.
Work in K2, P2 ribbing for 24 rows, or roughly 4”.
The Middle:
Switch to knitting across every row in the Stockinette stitch. Knit 21 rows.
The Top:
To decrease, follow this pattern for the remaining rows. Switch to double pointed needles as soon as it’s too tight to use the circulars.
1) *K6, K2Tog* repeat until end of the row
2) K entire row
3) *K5, K2TOg* repeat until end of the row
4) K entire row
5) *K4, K2Tog* repeat until end of the row
6) K entire row
7) *K3, K2Tog* repeat until end of the row
8) K entire row
9) *K2, K2Tog* repeat until end of the row
10) K entire row
11) *K1, K2Tog* repeat until end of the row
12) K entire row
12) K2Tog until there are 7 stitches left.
Use a darning needle to stitch through the remaining 7 stitches, and then pull the top of the hat closed. Use a few double knots on the inside of the hat and leave the tail of the yarn inside the hat.
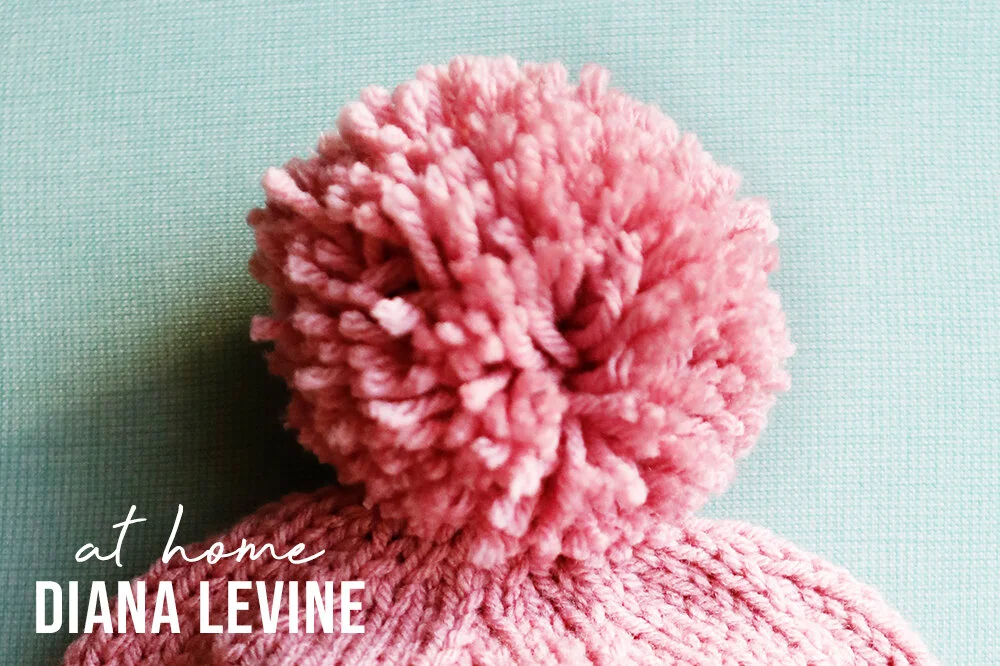
Make the Pom Pom!
Use a 3.5” Pom Pom Maker to create the Pom Pom. Here is a tutorial on how to use the Pom Pom Maker in case it’s easier than reading the directions on the package. Leave 2 long strings remaining when you finish your Pom Pom, and then using the darning needle, attach it evenly on top of the hat. Be sure to use a few double knots and pull it tight so that the Pom Pom stays tight close to the hat.
Finishing Touches:
Since this hat is for my daughter, I like to attach the brim permanently in the “folded up” style, to make the style more seamless anytime she wears it. To do this, flip the brim up where you’d like it to stay, and then use the darning needle to sew a couple stitches in 5 or 6 places around the hat. Tie the stitches on the inside of the hat and snip the ends closely.
Personally, I didn’t block this project because my daughter put on her hat to try it as soon as it was off my needles and didn’t want to take it off! But if you prefer a blocked look, block your hat!
Enjoy!